Speed 400
Cloudster Project
The final versions of the Cloudster's wing rib
and tip pattern drawings were completed as shown below. It was discovered
that it was better to develop the four outboard wing rib patterns from the
main rib pattern rather than generating the smaller actual airfoils with
shorter chords in the Airfoil 8 programs.
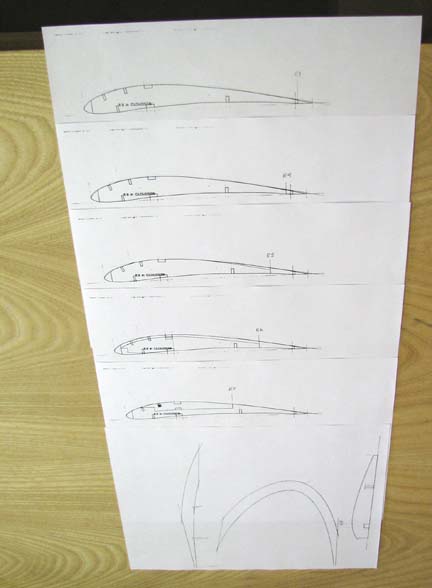
A copy of the patterns were printed off and the
originals were saved and filed in case more were needed for some
unforeseen reason. The neat thing about the SamSung laser printer is that it
faithfully copies the original patterns with absolutely no shrinkage or
distortion what so ever. The outside contour of the patterns were then cut
out of the copy as shown below.

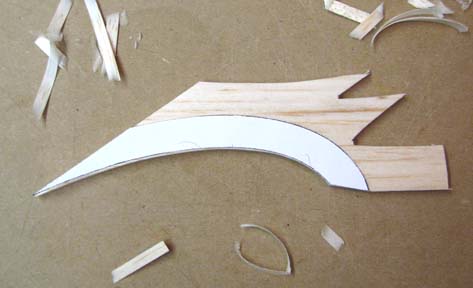
The wing tip pieces were cut out of 3/16" balsa
sheet. The tip patterns are placed on the balsa sheet and the outline traced
as well as possible. This always leaves a little bit to be desired.
So once part of the tip piece is cut out, the pattern is placed back on the
piece to check for accuracy as shown below.
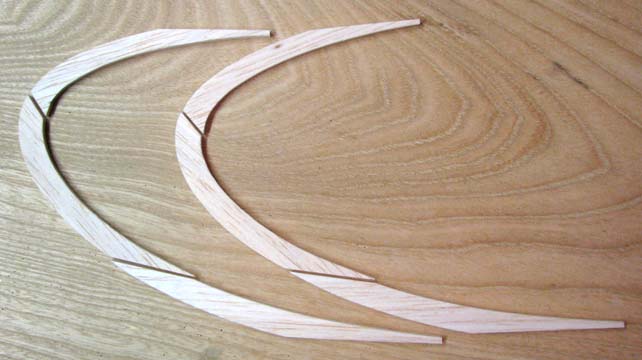
By being patient and taking your time, you can
cut the two sets of wing tip pieces out with surprising accuracy as shown
below.
Since the four outboard wing rib patterns were
developed from the main rib pattern, a plywood template is made of the R1
rib and all of the ribs cut out using the plywood template. Then the four
outboard wing ribs will be made by modifying the R1 ribs already cut out,
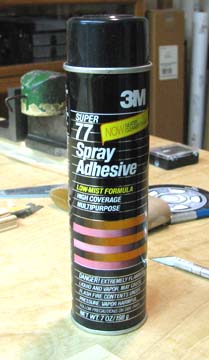
which insures absolute spar notch spanwise alignment. To make the R1
template, the outer contour of the R1 rib pattern is cut out first. The
pattern has to be bonded to a piece of 1/32" plywood. A good contact cement
used for this purpose is 3M's Super 77 Spray Adhesive shown below.
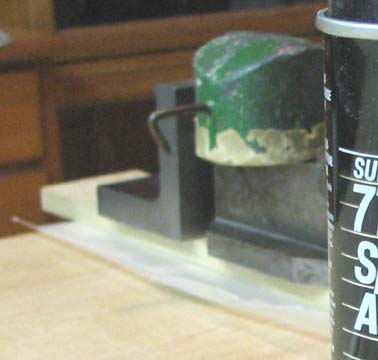
The R1 pattern and a piece of plywood are placed
on a sheet of news paper and sprayed with the Super 77 Spray Adhesive. Let
this set for about 3 minutes and then carefully remove the plywood from the
news paper and place it on a piece of wax paper, sticky side up. Then
remove the rib pattern from the news paper and carefully place it sticky
side down, centered on the plywood. Fold the wax paper over and place
weights on the top as shown below. The weights act as a press to insure that
the R1 pattern is firmly pressed out onto the 1/32" plywood.
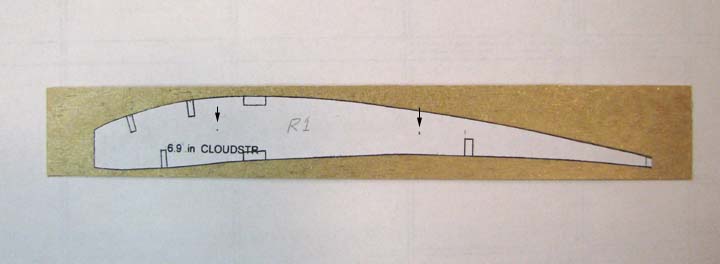
This is allowed to set for about 2 hours and then
the wax paper is removed. The untrimmed R1 template shown below was placed
on the work table and allowed to dry overnight as the adhesive is still
sticky around the untrimmed edges of the plywood. Notice the two arrows
pointing to the alignment holes that will be used to hold the template on
the 1/16" balsa while the ribs are being cut out. These holes will be
drilled out with a No. 44 drill bit so that a piece of 1/16" dowel can be
inserted for pins.
The next step will be to cut out the R1
rib plywood template. This will include drilling the two alignment holes and
carefully cutting out all of the spar notches and checking their fit with
actual spar stock..............................Tandy