Speed 400
Cloudster Project
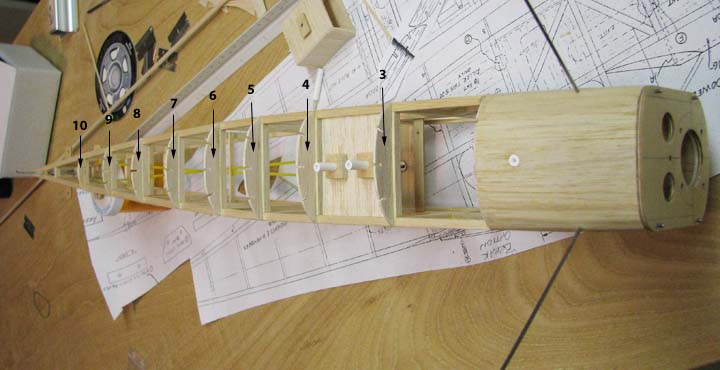
In the picture below, you can see that the
forward bottom strip planking has been complete and the ten bottom bulkheads
have been cut out, sanded and glued to the bottom cross members of the
fuselage.
This is close up of the forward bottom strip
planking before it was sanded to shape. Notice the white ABS plastic tube
embedded in the planking for the 2-56 screw to secure the battery box inside
the fuselage.
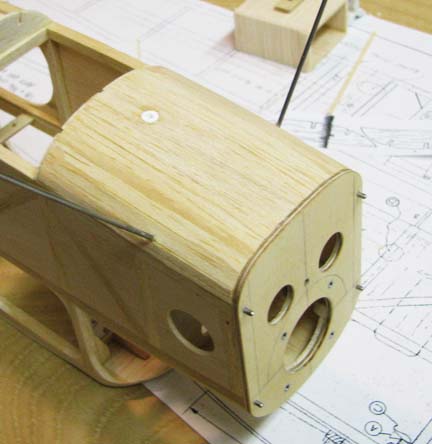
The bottom block on the cowl was glued in
place as shown below.
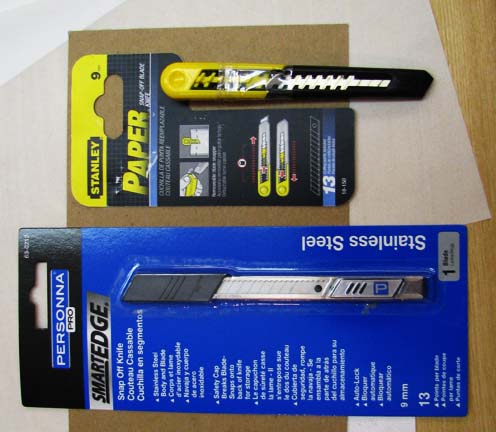
A week or so ago I saw a posting on the
SAMTalk_Forum where Karl Gies recommended the Stanley break off blade knife
for carving props, which looked like just what I needed to carve this cowl
with. Karl said to extend the blade several inches without breaking off any
pieces and use it like a long blade pocket knife. So I went to Home Depot
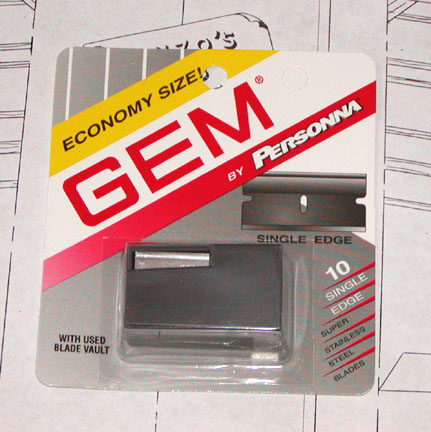
and found the Stanley knife for $1.71. However, the term "Personna" on a SNAPOFFBLADE
knife called "SmartEDGE" caught my eye. If you remember, the
exceptionally sharp single edge GEM razor blades I use for cutting balsa
also uses the same term "Personna" as shown below.
I hesitated because of the cost, but I went ahead
and also bought the "SmartEDGE" knife at $4.98. Both the
Stanley and SmartEDGE knifes are shown in the picture below.
Even though the SmartEDGE knife is three times the cost of
the Stanley, I found it was at least four times sharper than the Stanley! It
slices balsa like butter just like the GEM blade does.
The cowl was easily carved, trimmed and sanded to
shape thanks to the new SmartEDGE knife
(thanks for ther tip Karl).
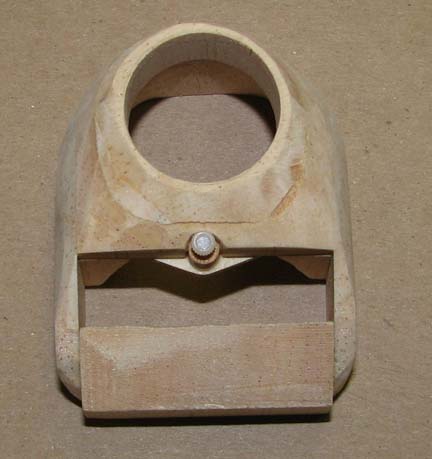
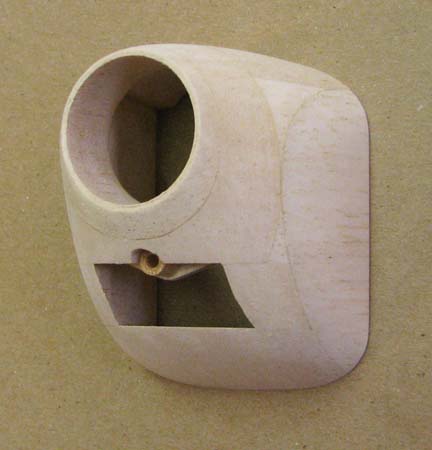
Here are a few pictures of the Cloudster's cowl.
Side View
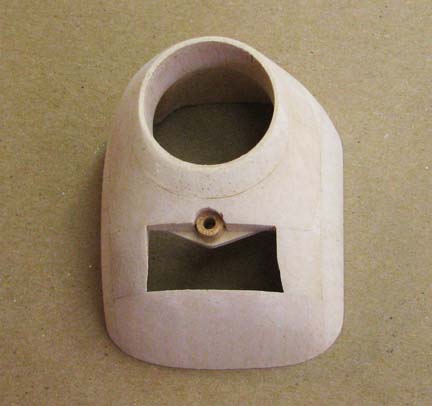
Front View
(I still have to ovalize the inlet
opening in the front yet to increase the inlet area and reduce weight.)
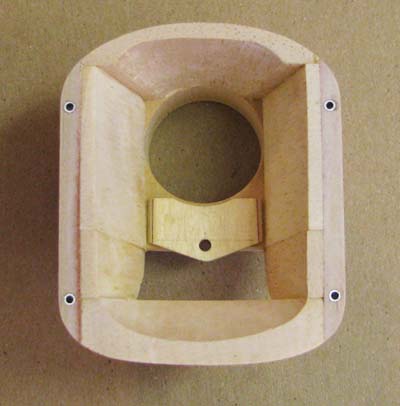
Rear View
(I still have to remove some
excess balsa from inside the cowl yet which will reduce the weight maybe
another 30%.)
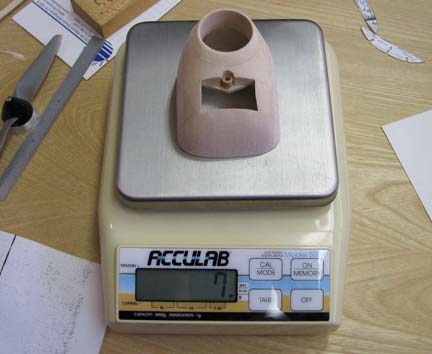
The cowl as it is now only weighs 7 grams or 1/4
of an ounce, but every little bit of weight that can be removed helps.
This picture shows the precise fit of the cowl to
the Cloudster fuselage over the Speed 400 motor and mount.
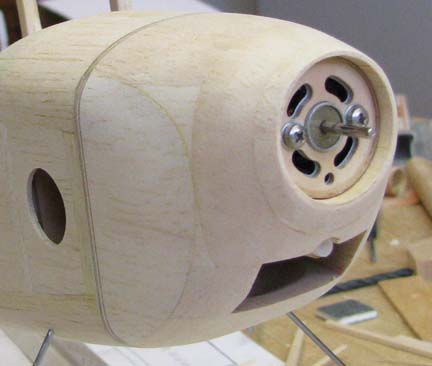
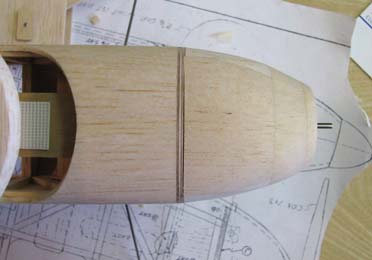
Top View
Bottom View
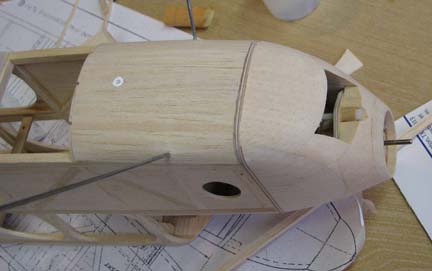
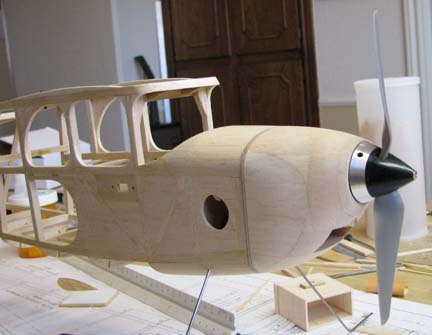
This last picture shows how the clean lines of
the cowl streamlines the front of the fuselage and mates with the spinner.
The next effort will be to wire up the Speed 400
motor to the ESC to the Li-Po battery with connectors. Then perfume some
trial installations and removal of the Li-Po battery though the opening
under the wing to see the hatch in the bottom of the fuselage can eliminated
or not. This has to be done before the stringers are added to the bottom of
the fuselage bulkheads.....................Tandy