Speed 400 Cloudster
Project
This report is going to be somewhat tutorial,
even elementary, but for documentation purposes I wanted to go through the
step by step process of painting trim on silk and describing the materials
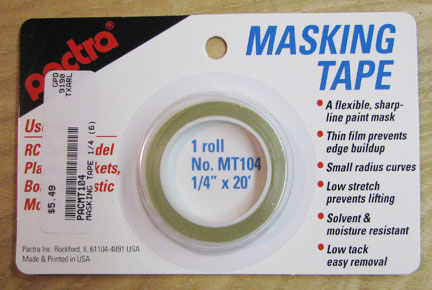
that work best for me. In the picture below is a special masking tape made
by Pactra that many the model car guys use and you can get it in 1/16",
1/8", and 1/4" widths. This is absolutely the best masking tape for
painting trim strips and patterns on silk covering. However, it is a little
pricey, but one 20' roll will go a long way.
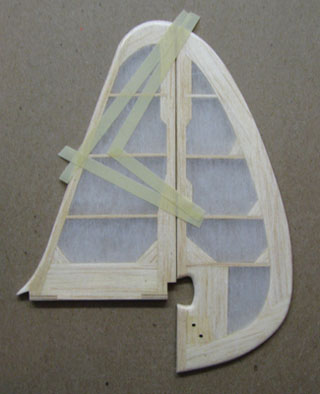
The trim application that I will be describing
here is on the Cloudster's fin. My favorite "Swept-V" pattern is carefully
masked off on the left side of the fin in the presents of the rudder using
the Pactra 1/4" wide masking tape as shown below. This is also repeated on
the right side of the fin.
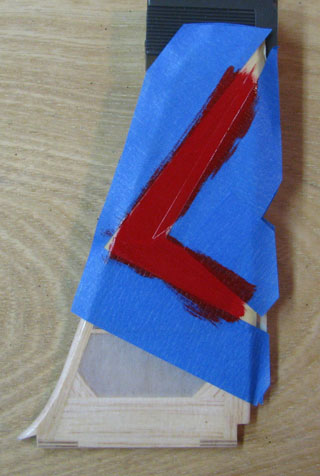
Some of 3-M's low tack blue masking tape is put
over the outside part of the Pactra tape to prevent accidentally getting
paint on the silk outside the 1/4" Pactra tape. Then two thin coats of clear
nitrate dope were brushed on the area to be painted (with
drying in between) to seal the edges of the tape as
shown below.

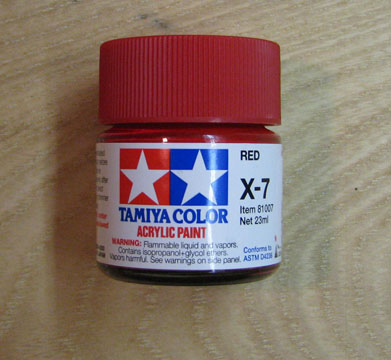
I have had great success using the water base
Tamiya acrylic paint for painting on trim. The picture below shows the jar
of Glossy Red that will be used.
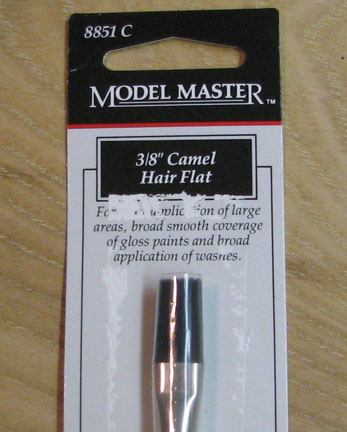
Testors make camel hair brushes especially for
applying this type of paint, but again they are also a little pricey. The
one used in this application is the Model Master No. 8851C 3/8" camel hair
brush shown below.
A thin coat of Tamiya Red paint was brushed on
the masked off pattern, which was followed almost immediately a second thin
coat as shown below.
The outside blue tape was removed within
about ten minutes as shown below.
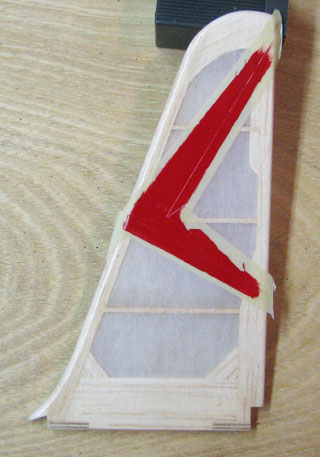
After about twenty minutes, the Pactra masking
tape was removed, leaving the Swept-V pattern in Red as shown below. As most
of you already know, the Pactra tape removal was done by carefully pulling
it back over itself at a 45 degree angle to leave a clean sharp painted
edge.
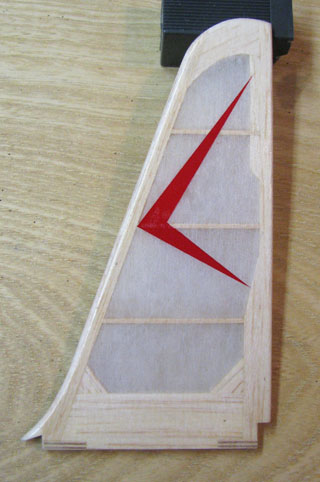
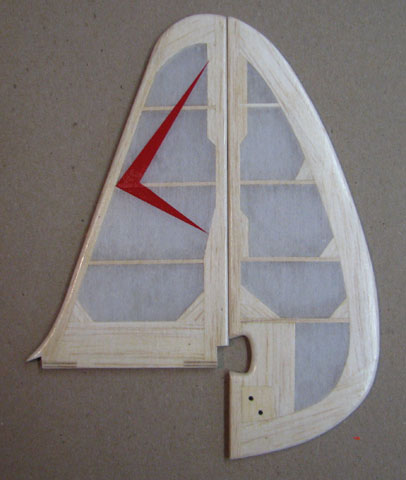
The look of this Red Swept-V pattern on the fin
is best viewed in the presence of the rudder so you get the perspective
of the pattern on the complete vertical tail as shown below.
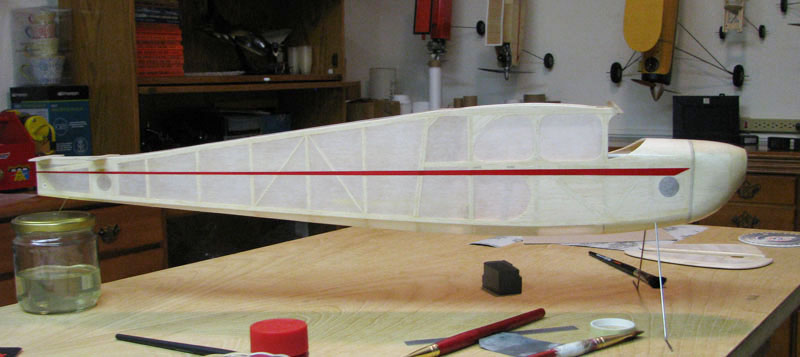
This procedure was also used to paint the tapered
Red trim strip on both sides of the fuselage. Placement of the fuselage's
trim strip was dictated by three self imposed constraints:
(1) Strip should be simple and taper down the
full length of the fuselage.
(2) Strip should not be painted on
covering over vent holes that are to be cut out.
(prevents removing segments of the
stripe)
(3) Strip should not extend forward beyond
the plane of the firewall.
(just to keep the trim simple)
These three constraints resulted in a Red strip
on the side of the fuselage that starts a 1/4" wide at the front and tapers
down to a 1/16" at the rear as shown below. This Red strip is clean and
simple. Notice that removal of the covering over the two fore and aft
ventilation holes will not remove or disturb any part of the Red strip. I
think the Red strip will look even better when the covering over the
fuselage's two side windows is removed.......................Tandy