71 J-3 Cub
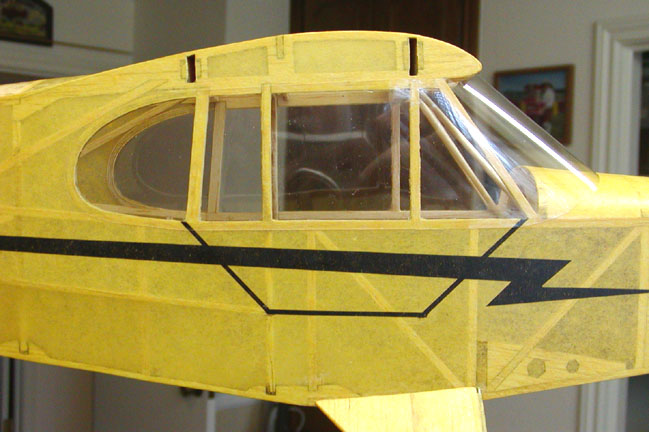
Windshield Installation Complete
This morning I removed all of the tape and found that the glued areas of the windshield were bonded just fine. However, there is no glue around the windshield/cowl juncture and none at the top, except right at the back over the wing's forward spar. I am wondering if I really need to glue these areas? A close up of the entire window installation is shown below. Mike Midkiff was saying something about cutting out some sort of a "mask" out of card stock and painting it yellow to fit over the side windows (not sure about the windshield). Also I am not sure what the mask it is for. If I do the mask, I need to do it before I glue the wings in place. So I have to have a discussion with Mike about this soon.
This is a shot of the entire fuselage that
shows how the windshield looks.
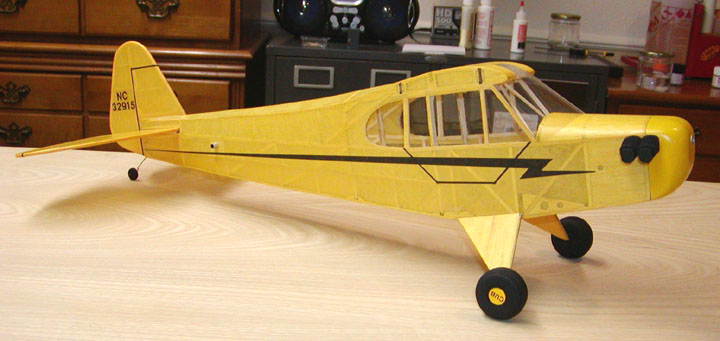
Today I will cut out the small tissue square on
top of the fuselage for the little window up there and glue on the styrene
window. At this point I am ready to glue the wings on, unless I do the
mask. So a call to Mike is part of the order for the day.
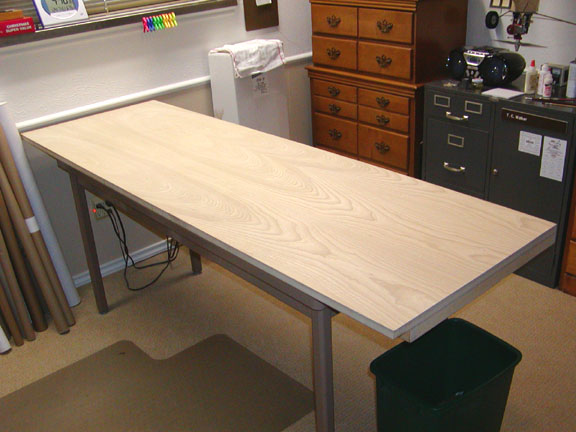
Oh yes, I forgot to mention that I have new
wood on the top of the building board in the model room. Over time, I had
cut, glued, spilled oil, and hacked the top of my building board pretty
bad. This building board sits on top of a metal office table in the model
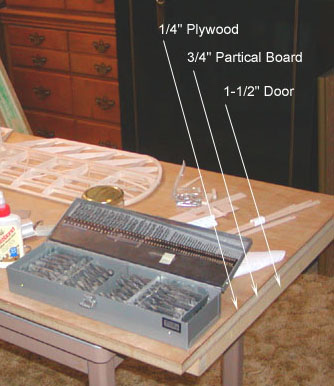
room. It consists of 1/4" plywood bonded to 3/4" particle board, which is
bonded to an unfinished door as shown below. This combination is very
straight and very flat, not mention heavy. As you can see, there is a 4"
overhang provided for clamping work on the chair side.
I had a cabinet maker remove the top 1/4" beat
up plywood and replace it with a sheet of furniture grade 1/4" Ash
plywood, which he accomplished in one day. The new top of the building
board is shown below............................Tandy