.JPG)
Goldberg "Gas Bird" Construction Project Session #10
By Tommy Gray
AMA 17063
Well, we are only 3-4 weeks away from the 2009 SAM Champs and I am in overdrive mode trying to get all my projects finished, and trimmed before I have to leave so there will be a lot going on in the next few days!
Last time I started the pylon construction, and ended with the rough sheeting.
Now, I am finishing up the pylon. In the next picture you can see that I have it finished in and I have put a little balsa putty between the sheeting and the fuselage side, which when sanded will be virtually invisible.
.JPG)
At this point I am ready to put in some wing mounting rods. I am using 1/8" music wire. I started by putting a 90 degree bend in the end of a piece of wire.
.JPG)
This will give it a "bite" in the top of the pylon. When the pylon is prepared for the two rods (one front and one rear) I will install them using epoxy, and before adding the wind mount.
Next I took a Dremel
(TM)
tool and grooved the top of the pylon for the wing mount and the rods.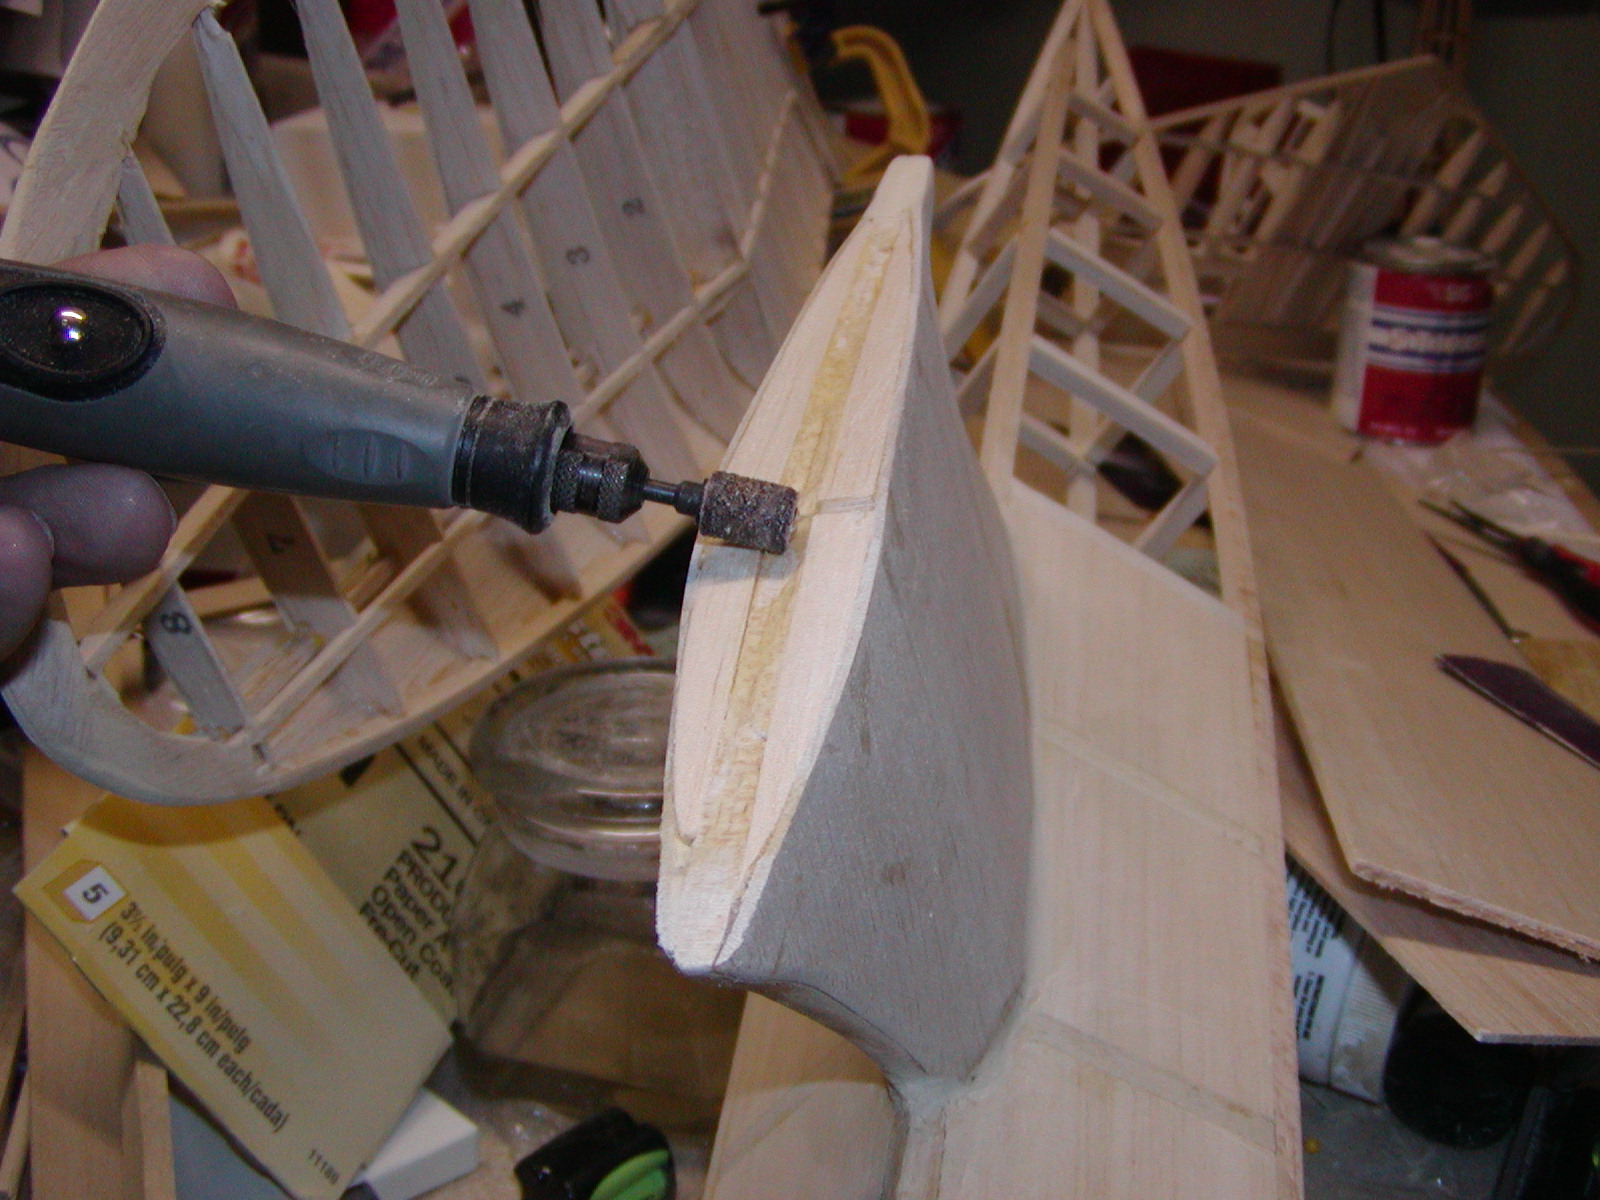
The grooving will not only allow the rods to be sunk into the structure, but it will also give the correct bevel for the wing mount to be able to match the shape of the underside of the wing dihedral. I next drilled the front and rear holes that the wire will be inserted into, using a drill bit that will give a tight fit.
.JPG)
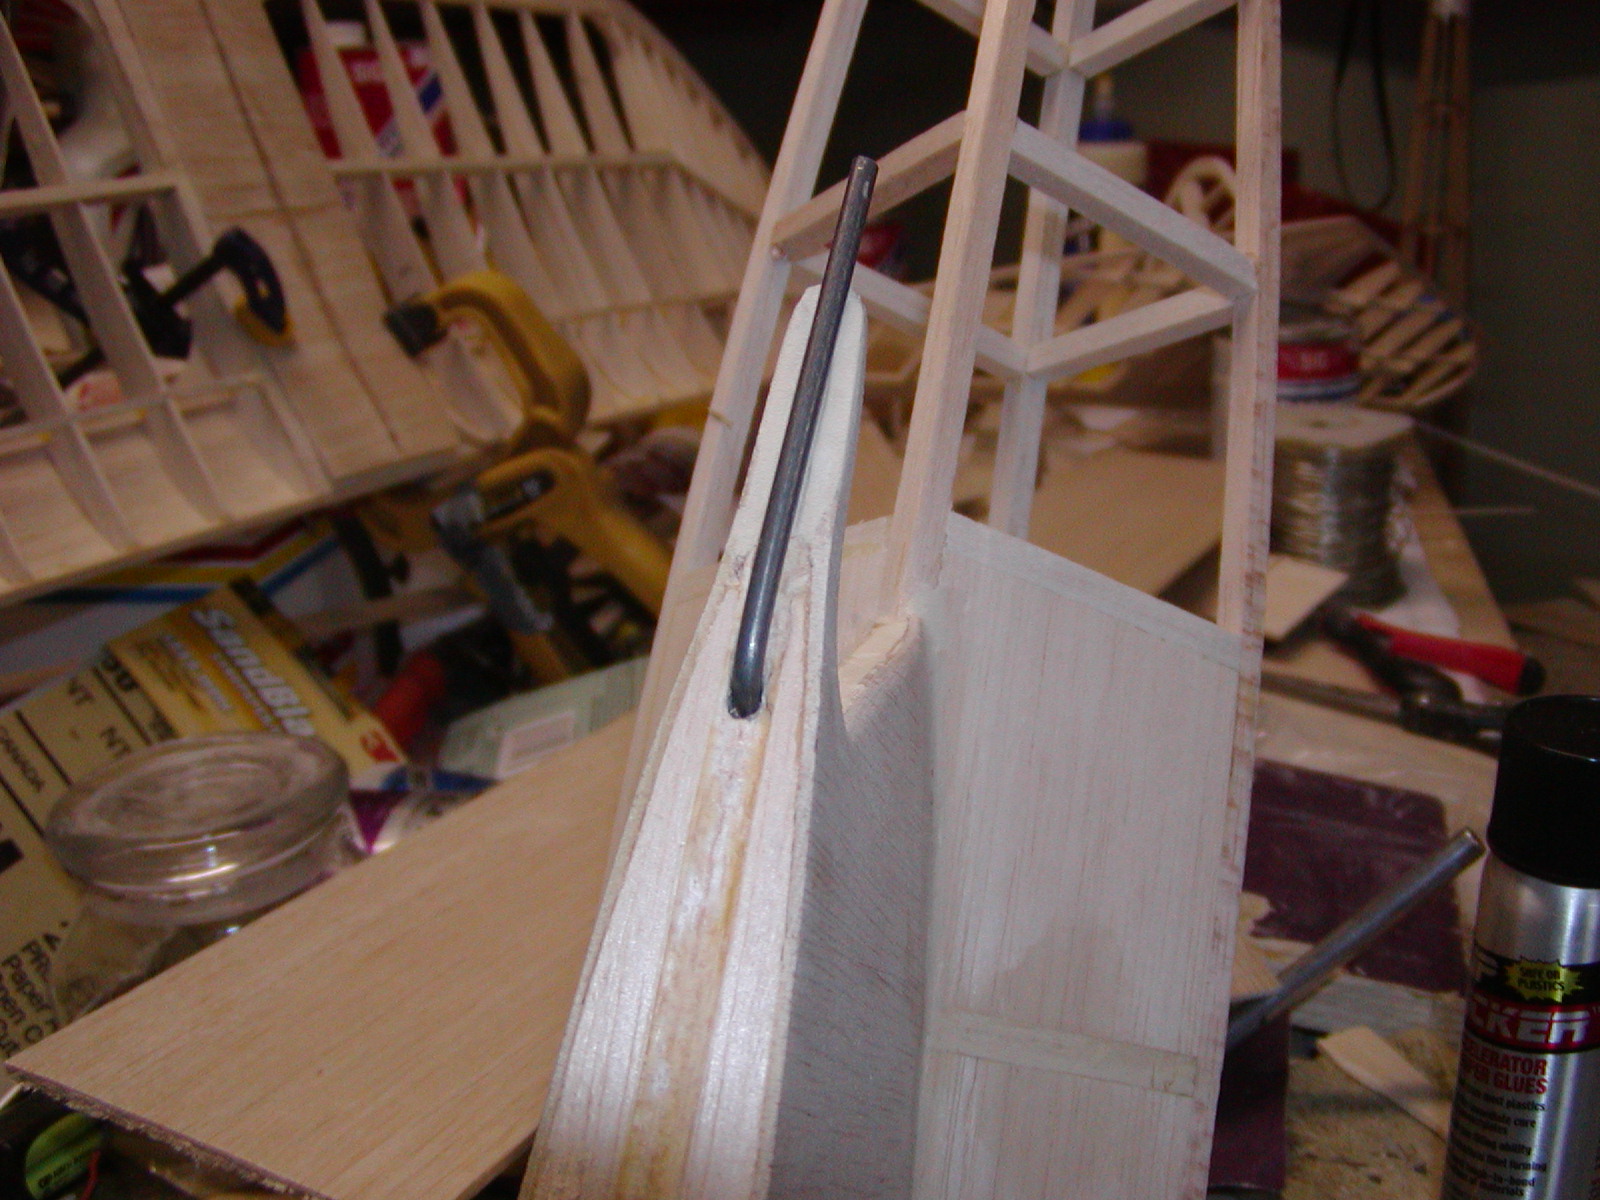
Here you can see the wire inserted into the top before grooving the pylon to sink it down into it.
.JPG)
Same thing for the rear....
Here you can see the groove I cut into the top of the pylon for the wire. I left the groove a little oversize so that there will be plenty of epoxy around the embedded wire pieces.
.JPG)
Here you can see the wing mount that I made out of 1/8" balsa to hold the wing securely in place when the plane is assembled. I made the mount by cracking a piece of 1/8" along the center to bend it at the dihedral joint, and then I clamped it to the underside of the wing itself. Once securely clamped, I applied some CA glue to the crack to allow the mount to retain the shape of the undercambered wing. Once dried, I was ready to mount it to the pylon. I had already sanded the top of the pylon to match the curvature of the underside of the wing.
I had already glued in the wires, and once the epoxy for the wires was setup, I applied a generous portion of epoxy to the pylon top and mounted the wing mount. I will go back a little later and add a fillet of some epoxy and some Sig micro-balloons I have here. I have used the micro-balloons for many years and they work well for fillets, etc., and can be sanded if necessary.
.JPG)
Here it is from another angle..
..JPG)
More to come...Tommy!