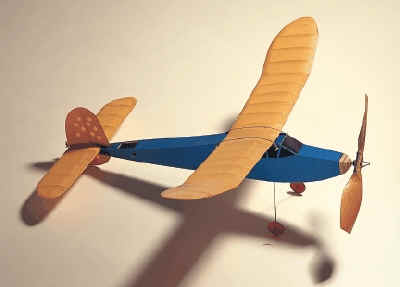
Spirit of SAM "Jabberwock" Construction Project Session #3
By Tommy Gray
AMA 17063
8/6/2010
Well.... both sides are done and it is now time to put them together!
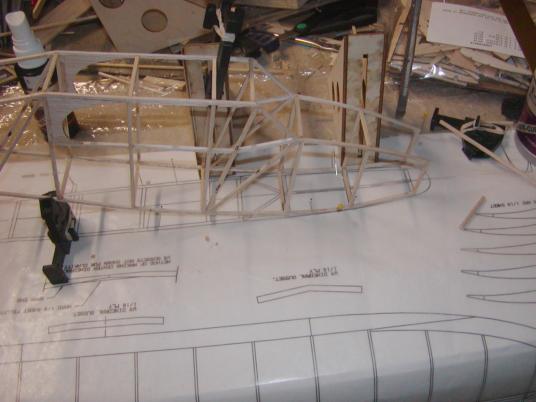
I started by pinning the rear of one of the sides to the board using the previously described method, and squaring it to the board with one of my building squares. BTW: I designed these squares on my computer and sent the drawing to Bob Holman who cut them out of scrap plywood for me (and did a great job I might add!). I glued them together with a little CA and viola! The slots allow me to pin them to the board where needed. For this fuselage, I just used a little build clamp to attach the side to until the thing is glued to the other side and the top and bottom sticks.
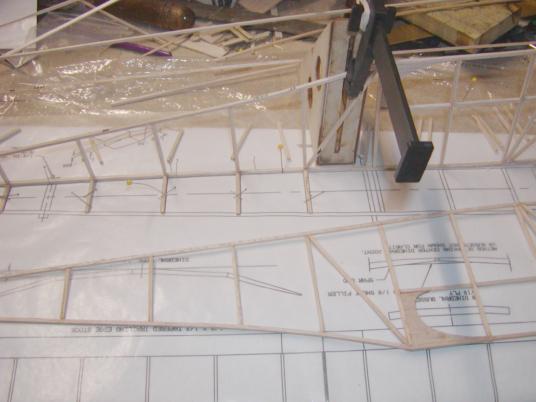
Here you can see I have cut the cross pieces (top and bottom exactly the same length) and laid them out at each station ready to attach. I pinned them to the plan after applying a little glue and using the square, made sure everything was kosher.
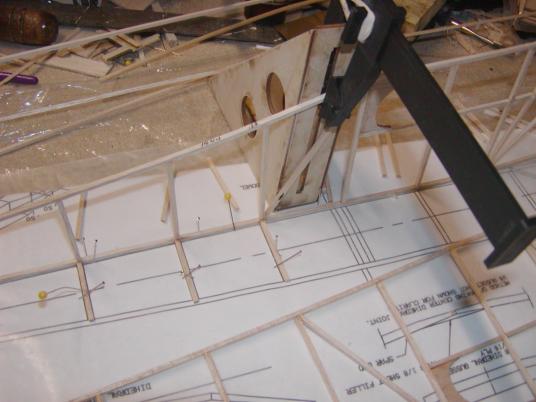
Next, I placed the right side on the plans pinning it down and gluing it to the already in place, cross pieces. I did not put the front cross pieces in yet, as the fuselage is curved and I will work it from the rear, which has the longest straight pieces. This allows me to get a lot of it glued before moving it from the plans.
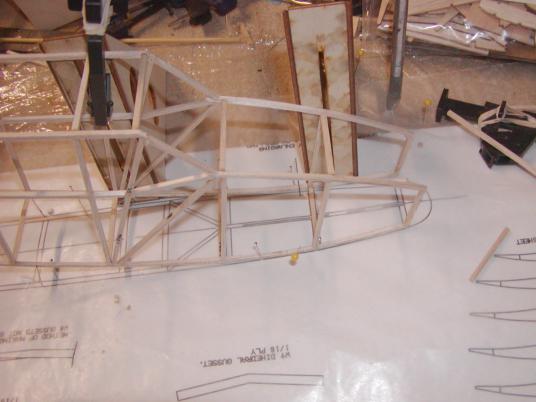
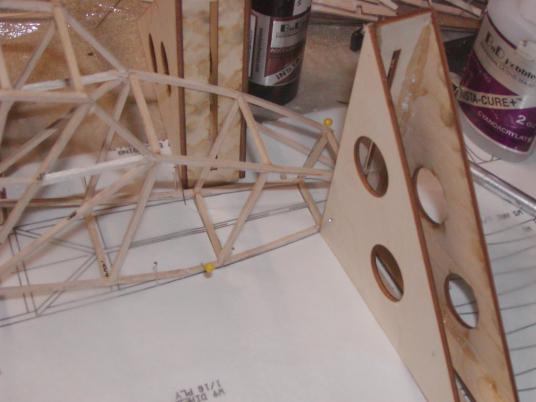
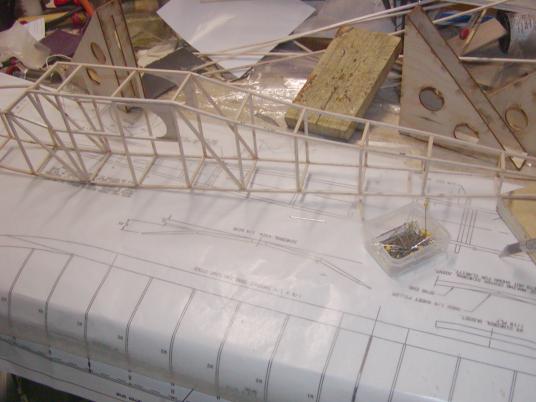
After gluing in the rear cross pieces, I removed the pins and working from the rear, added cross pieces one station at a time, keeping everything square using my building squares as you can see in the pictures. I continued working up the curve until I got to the front. I supported the rear of the fuselage in an elevated fashion using some small clamps as you can see in the picture. (The clamps hold the fuselage up high enough to make the front of the longeron touch the plans while I add the cross piece).
Continuing on to the front.
Finally... made it to the last one.
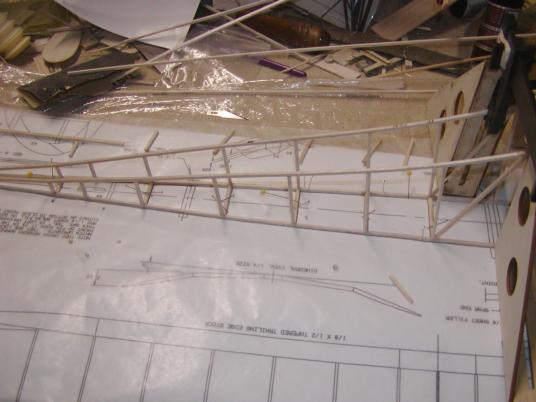
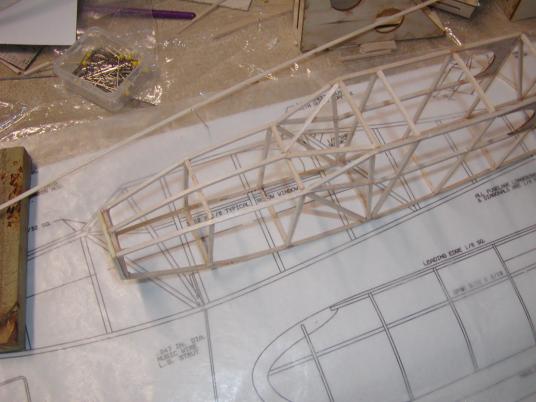
Well. all the pins are removed, and the fuselage framing is almost complete.
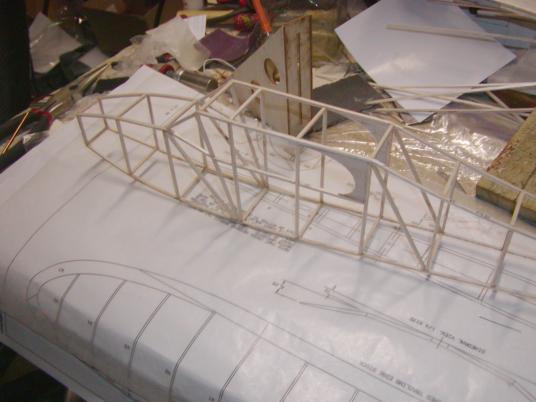
Another angle showing the rear.
The final thing I did at this point was to add the top nose stringer, the windshield diagonals, and the 1/8" lite plywood firewall (for mounting the motor). I have no doubt that I will come back and add a little strengthening in the nose area before I am done however, as it is just too weak as is. I also have to add the landing gear mount and put the gear in.
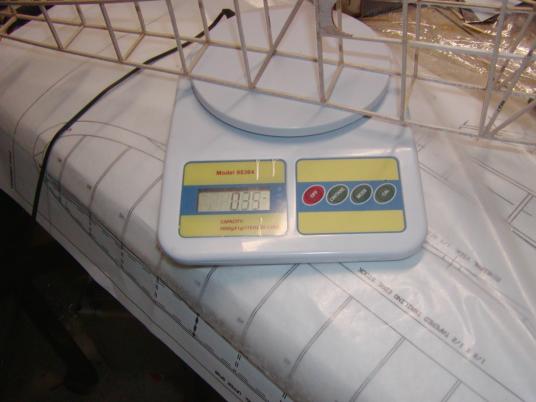
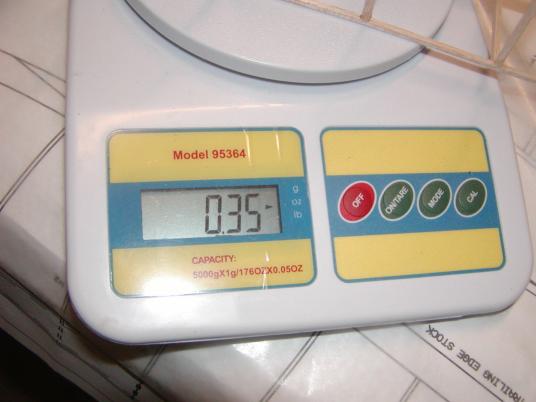
O.K....here we go. This is the acid test for now. According to my scale (which by the way, I took to the regional airport where my son works as an IA/AP and compared with their FAA approved scale, and found it to be right on), we weigh a grand total...Drum Roll Please....... .35 (that's "Point" 35 ounces).
In grams for those sticklers among us!!
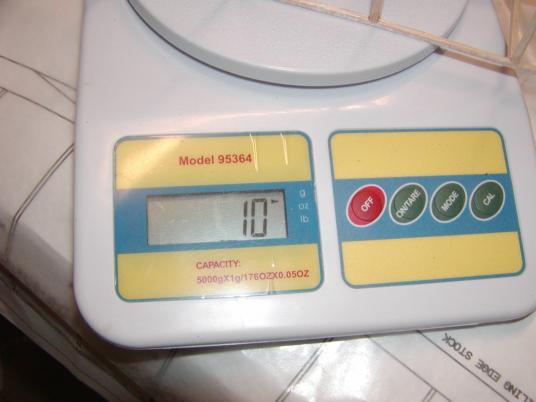
Another close up of the scale, showing ounces..
Well, that is the first part, and I am burned out for the day. More tomorrow. Hopefully it will not be raining tomorrow and I can go flying early to finish trimming my Champs planes. The temp here this past week has been between 105 and 109 every day, and yesterday some rain rolled in and the temp dropped to the 90's! Wow!! Winter weather in August in Louisiana. Go figure!!
How am I doing so far? Think it will come in under 5 ounces and still stay together? Time will tell!
More to come! Tommy!
Click Here to go to the next page ( )....