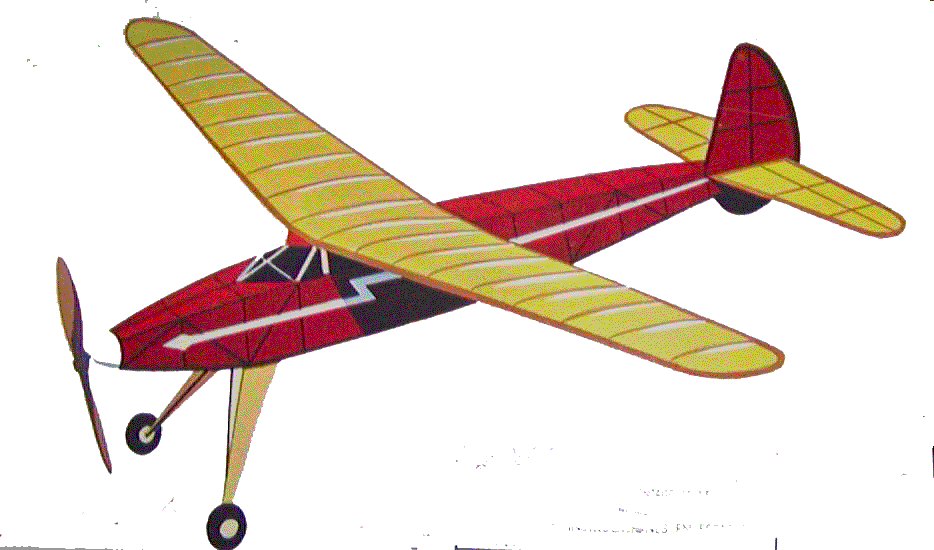
Comet "Phantom Fury" Construction Project Session #6
Comet "Phantom
Fury" Rubber Powered
Free Flight Model Airplane
By Tommy Gray
AMA 17063
In the last session I was starting to cover the fuselage with the Polyspan covering. As I stated then, I started by covering the bottom first.
.JPG)
After the dope had a few minutes to dry, using scissors, I trimmed it up as close as I could. I finished up the trimming with the razor knife.
.JPG)
After the trimming was done to suit me, I used the sealing iron to get a good crease at the folding point. I mentioned in an earlier article that the Polyspan does not fold over corners well without a little heat.
.JPG)
I repeated the process on the other side...
.JPG)
Once the covering was folded with the iron, I went back with the iron, and using the thinned dope, finished up the attachment of the covering. Most folks don't do it this way, but I have found that if I let the dope dry just a tad, I can then iron the joint down, and it will stick just like an iron on covering. You have to be careful to not use too much heat, however, or you will burn the dope. There is one other step I will show you a little later on.
Once I had the bottom completely attached, I let the dope dry, and then I gently shrunk the covering using the Monokote iron, so that it was tight. (Don't go overboard here as it can still be shrunk later even after applying the first few coats of dope without a problem). Too much shrinking and it will tear or open up the weave as this stuff will shrink a lot if you keep adding heat!
Next, I started covering the fuselage sides. I began as I did on the bottom, by going around the perimeter of the structure with the dope, then I gently laid the covering on the surface and smoothed it out a little.
.JPG)
Next, I went around the perimeter, and tacked the covering down with a little more dope (50-50 thinned nitrate).
.JPG)
As the dope was applied, (this is the other step I previously mentioned), I took my finger and kept rubbing the dope into the surface until it started to dry, making sure it was securely stuck to the wood.
.JPG)
I then trimmed the excess, and using the iron, again folded the edges. I finished off the side as I did the bottom, slightly shrinking it with the iron once the dope had set up.
I then repeated the process for the other side.
.JPG)
Finally, I did the top (sorry I don't have a picture of the covering of the top, but you can see how it came out in the next session). I did it in two pieces. One for the front, and one for the rest of the top. After everything was covered and shrunk, I applied a few coats of 50-50 nitrate dope to finish it off. It came out very nice and shrunk down well after it was all dried. Sig says their nitrate dope is non tautening, but it WILL shrink the covering a little more as it dries so be careful!
More to come.........Tommy!