Comet Sailplane
Project
The first order of business this afternoon was to
go over the fuselage's third coat of clear dope with 600 grit paper as the
final step before starting the second covering.
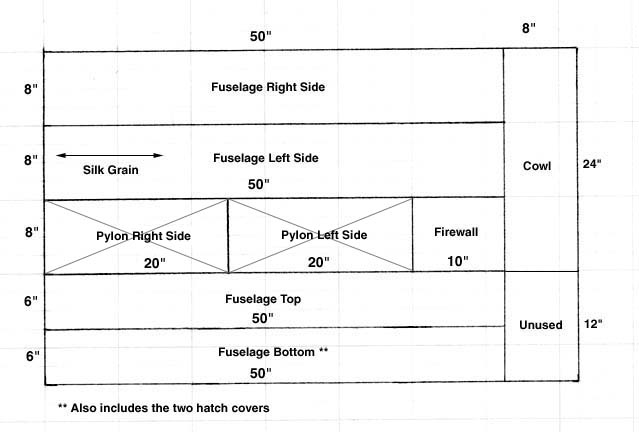
I cut up the single 36" X 58" large piece of
orange silk into the nine separate panel pieces for the second covering of
the pylon, fuselage, cowl, and the two hatch covers with orange silk.
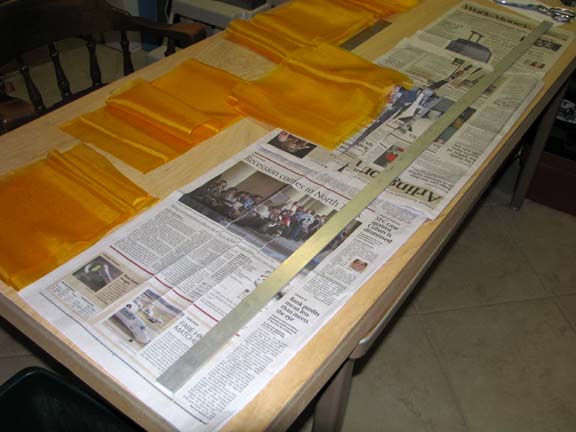
Key Tip
This invaluable tip that Gene Wallock told me
about a long time ago can be seen on the work table as shown below. Always
put the silk down on top of multiple layers of newspaper to cut on. The
razor blade slides along smoothly cutting the silk along with several layers
of the newspaper underneath. The silk never tries to pull or bunch up like
it does if you try to cut the silk directly on the wooden work table.
This is another view of the orange silk cutting.
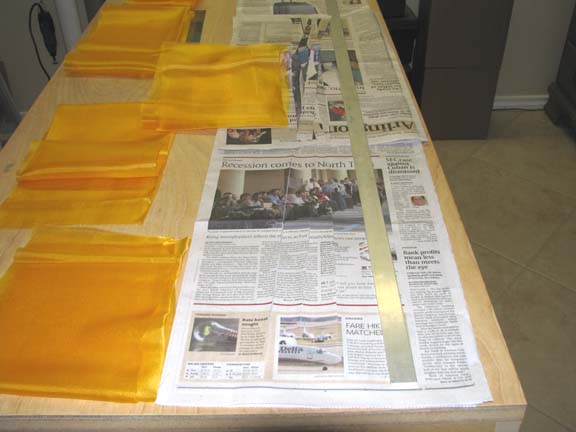
The two 20" X 8" silk pieces shown below were
designated for the second covering of the pylon.
One piece of silk was used to cover the entire
left side of the pylon and a small portion of the top of the fuselage as
shown below. Remember, the orange silk is being applied over the first
covering of Polyspan Lite.
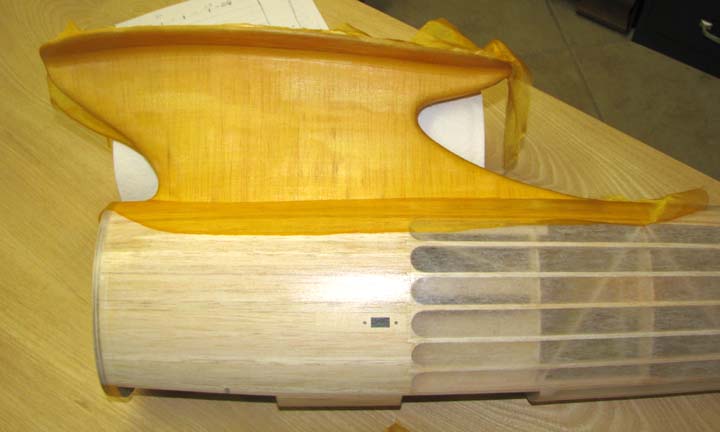
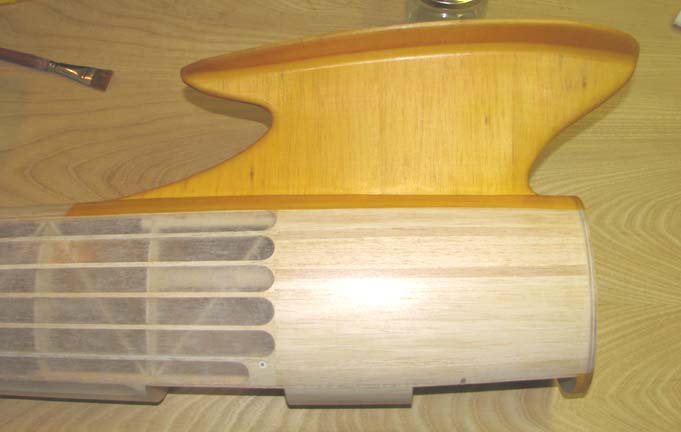
This picture shows the right side of the pylon
and a small portion of the top of the fuselage covered in orange silk with
one coat of clear dope applied to it. I am happy to say that the wing
saddle's epoxy fillet is only slightly visible now.
This picture shows the finished pylon and
firewall silk covering. Covering the pylon was an all afternoon
tedious effort, which left me completely pooped out so I will stop here for
the day. However, I will begin again in the morning on the left side of the
fuselage.......................Tandy
