Comet Sailplane Project
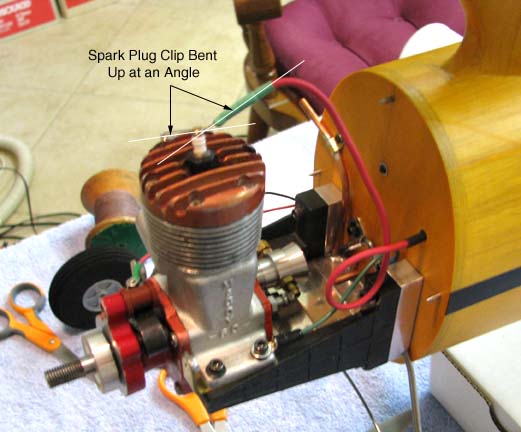
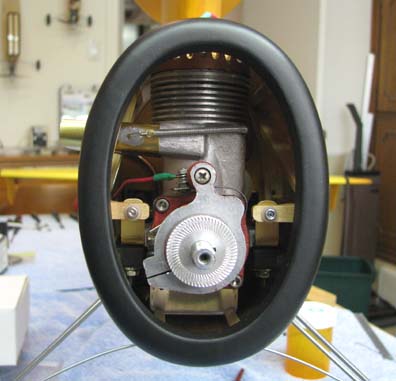
I finished making up the high tension lead for the McCoy. As you can see
below, a bend was put in spark plug clip to give the high tension lead
an upward angle behind the spark plug. A loop was also put in the high
tension wire for some extra slack for the lead to go through the hole in the
cowl during installation.
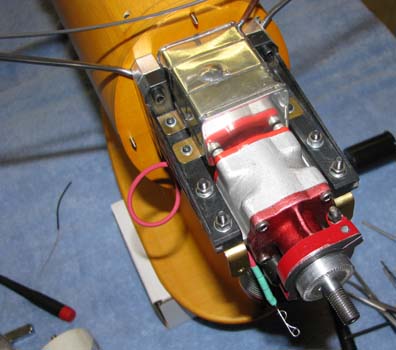
One inch 6-32 Allen head motor mount bolts were used to mount the McCoy 60
by screwing them tightly into the composite mounts. Then a flat washer and a
lock washer were put on each bolt and a 6-32 nut was tightened down onto the
bottom of the screws for extra security as shown below.
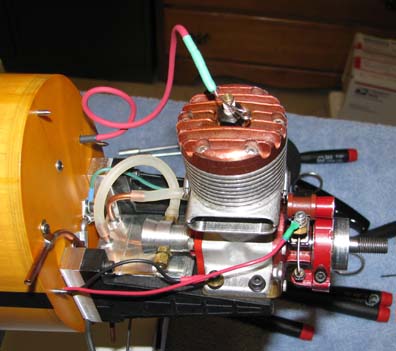
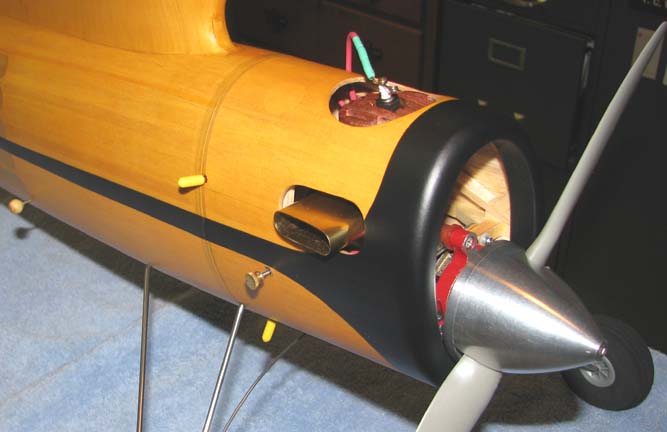
The pressure line and the fuel line were installed as shown below.
The cowl was installed and the exhaust extension was slipped over the
engine's exhaust stack and held in place with springs as shown below.
This picture shows the exhaust extension from the right side as well as the
needle valve.
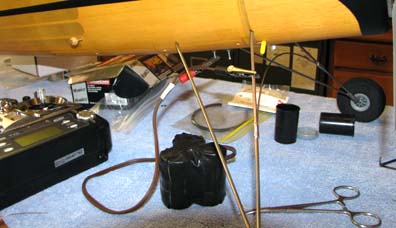
A booster check was made by hooking the (+) booster lead to rear bottom
terminal and the (-) booster lead to the landing gear as shown below. The
spark plug was removed and the engine was turned over and the spark plug did
spark.
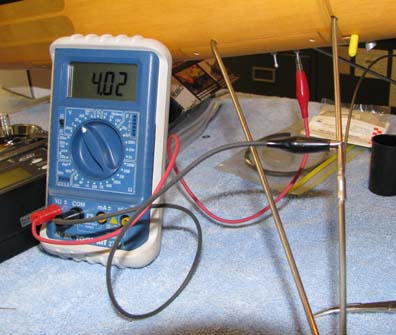
An ignition battery charge check was made with a multimeter (+) lead hooked
to forward bottom terminal and the (-) lead to the landing gear as shown
below. The multi meter read 4.02 volts as shown below.
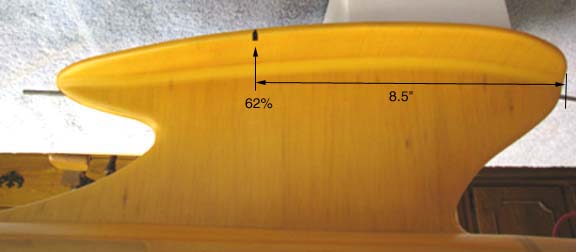
A 62% CG "tick" indicator was added to each side of the pylon with black
trim tape as shown below.
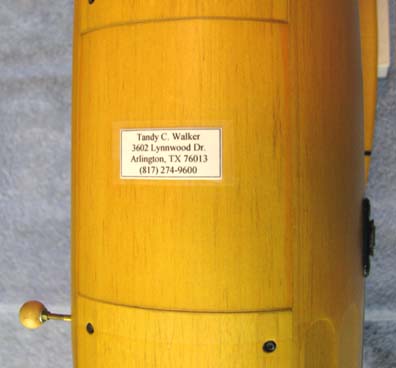
A label with my name, address, and phone number was added to the bottom of
the fuselage between the two hatches as shown below.
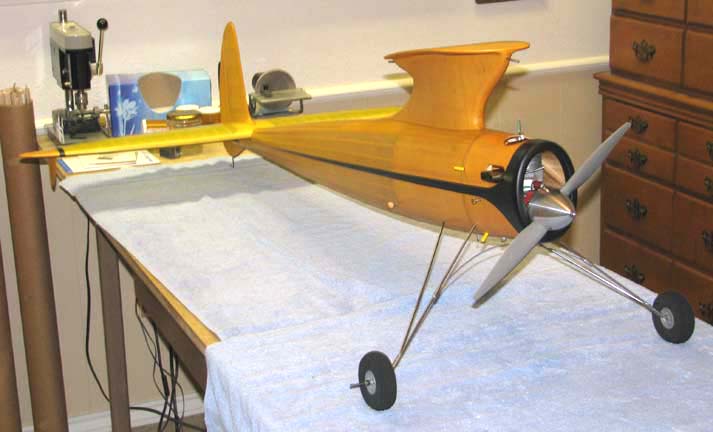
This is good picture showing the completely finished and assembled
Sailplane, except for the wing. I am waiting on the graphics to finish the
wing, which should be here next week.
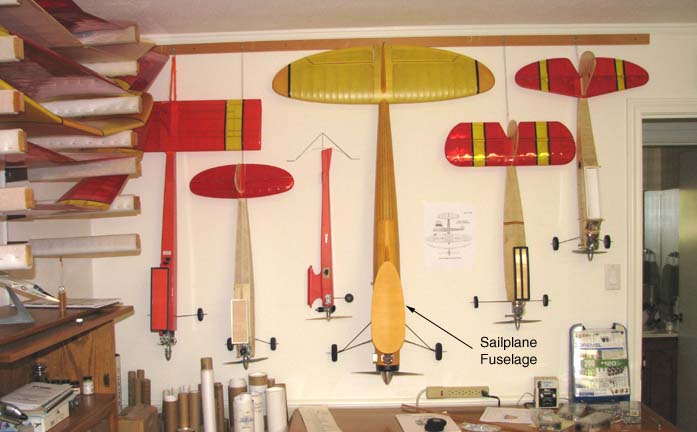
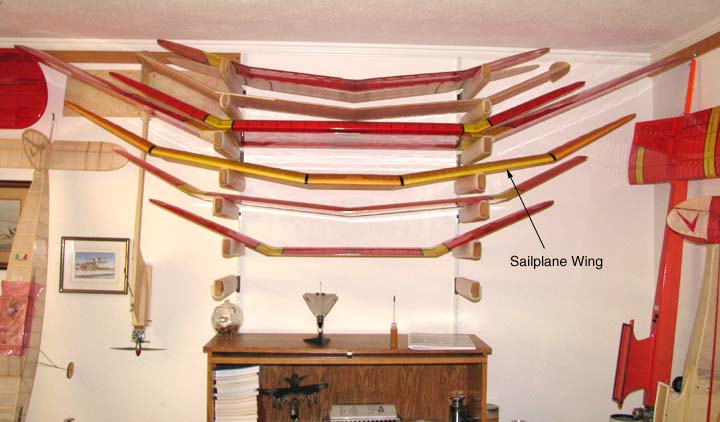
The Sailplane's wing is stored on the wing rack in the model room as shown
below.
The Sailplane's fuselage was stored by hanging it on the north wall with a
number of other fuselages as shown below........................Tandy