Comet
Sailplane

I have managed to work on the Sailplane some the
last couple of days, although my vision is pretty poor because I do not yet
have my new prescription glasses. So I am trying work using my old glasses.
I started working on the bottom forward ignition hatch cover. I began by
gluing three bulkheads on the bass wood hatch cover frame as shown below.
These will support the 3/32" strip planking that will be applied. Notice
that a 1/32" gap is left between the hatch cover ends so that the ends can
later be covered with 1/64" plywood.
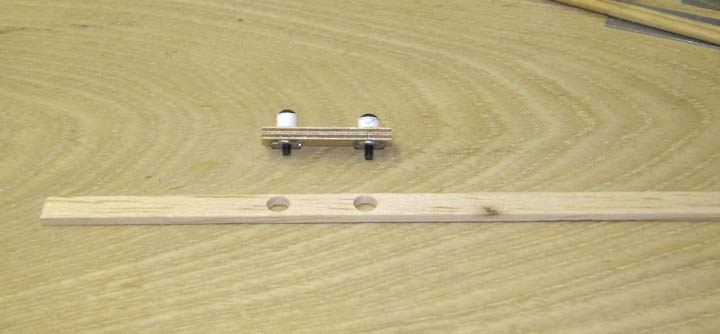
Since the ignition hatch cover will support both
the (+) booster external pin and the (+) ignition battery charge external
pin, the hard points for these two pins must be integrated into the cover's
planking. Shown below are the hard point assembly consisting of two 2-56
blind nuts embedded into a piece of 1/8" plywood with ABS plastic stand
offs. A strip of the 3/32" X 1/4" strip planking with two holes to receive
the stand offs is also shown.
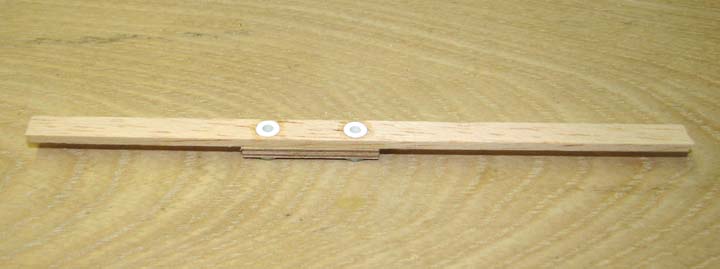
The hard point assembly was then glued to the
underside of the strip planking as shown below.
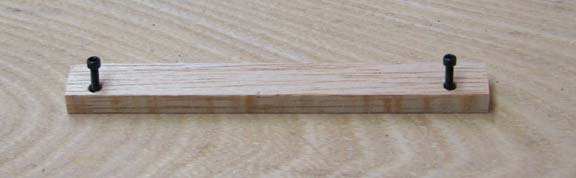
Two special 1/4" X 1/2" edge blocks were drilled
to match the attachment holes in the cover's frames. These holes were then
drilled oversize to just fit the head diameter of the 2-56 Allen head screws
shown below. These screws were used to properly position the blocks on the
frame while being glued in place.
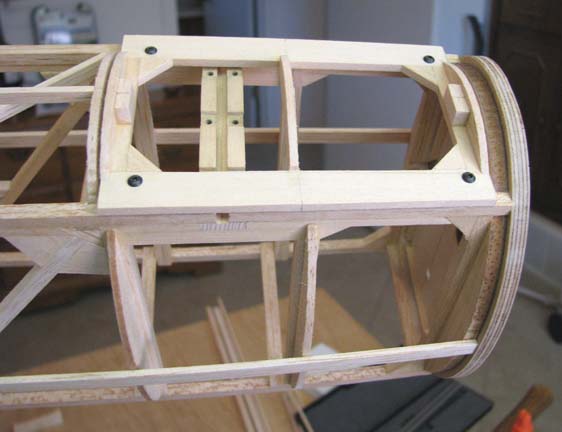
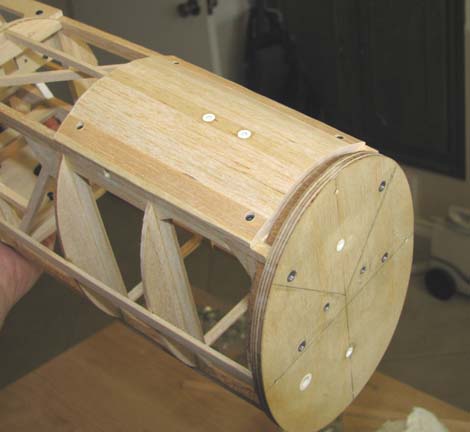
Planking of the ignition hatch cover started by
gluing the edge blocks on the frame first and then the strip containing the
hard point assembly down the center next. Additional 3/32" X 1/4" strips
were added completing the planking of the ignition hatch cover. In the
picture below, the two edge blocks were roughly trimmed down just to show
you how the removable barrel shaped ignition hatch cover will look. However,
considerable more trimming and sanding must be done to get the cover's final
shape.
I also glued the two bulkheads on the bass wood
radio hatch cover frame as shown below, but ran out of time today to do
anymore.........................Tandy
