I received the new fuel tank shown below in the
mail yesterday for the Sailplane from BRODAK'S catalog. It is identical to
the one in my big bomber, except it does not have the word "Perfect" stamped
on the end of the tank.
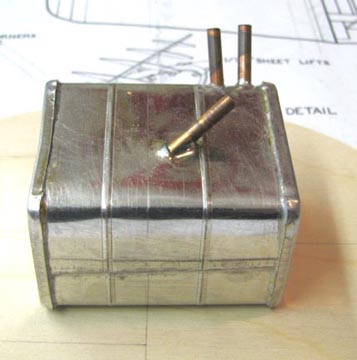
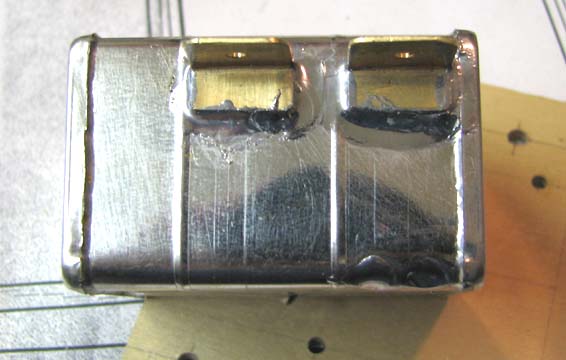
My first task was unsolder and remove all of the
copper tubing from the tank. I made four mounting flanges and soldered two
thin brass mounting flanges to each side of the tank as shown below, using a
jig of course.
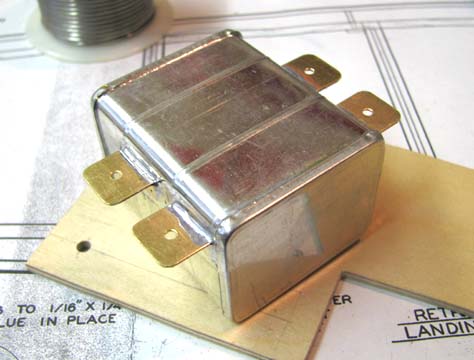
This picture shows all four of the tank mounting
flanges soldered in place.
The T-mounts were marked and drilled for the
holes in the flanges and screws were used to mount the tank to the bottom of
the T-mounts as shown below.

This shows the position of the tank mounted at
the rear and just below the engine. The tank's vertical position is dictated
by clearances of the rear rotor shaft extending out of the rear of the back
plate.

Notice the 1/4" plywood spacers behind the
T-mounts. I need to determine how thick the spacers should be to allow an
1/8" wire landing gear to be mounted between the back of the tank and the
firewall. My next task will be to determine the position of the T-mounts on
the firewall that keeps the fuel tank inside the cowl contour and then to
drill the holes for the T-mounts in the firewall and put in blind
nuts....................................Tandy