Comet
Sailplane Project
In the picture below, I had made a kind of "make
shift" pressure plate on the front of the cowl frame pressing the bottom of
the rear bulkhead tightly against the firewall while I planked it.
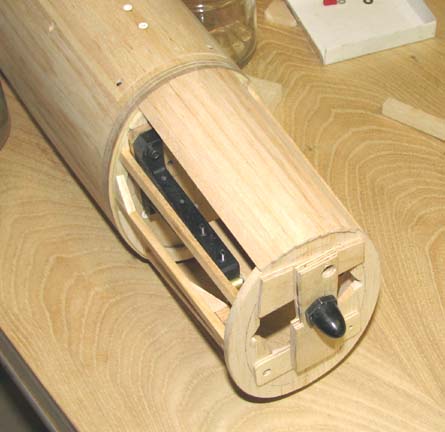
What I really needed was a pressure plate all
around the front of the cowl frame so I can plank the entire cowl without
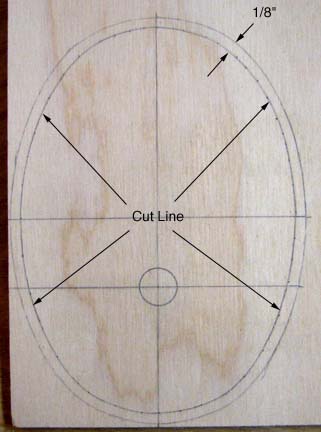
having to make a change in the pressure plate. To that end, I laid out the
cowl's front bulkhead on a piece of flat 1/4" plywood. Then I drew another
line 1/8" inside the edge as shown below.
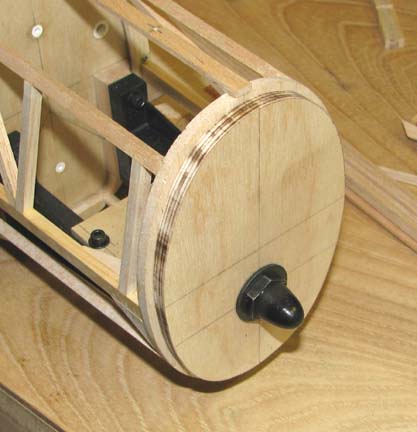
Jerry Burk took the plywood and cut around the
"cut line" for me on his band saw after which drilled out the crankshaft
hole to fit the McCoy 60's steel spinner nut. This 1/4" plywood pressure
plate was then slipped onto the shaft of the jig fixture that I made earlier
and spinner nut was then tightened down pressing the cowl frame firmly
against the fuselages bulkhead as shown below.
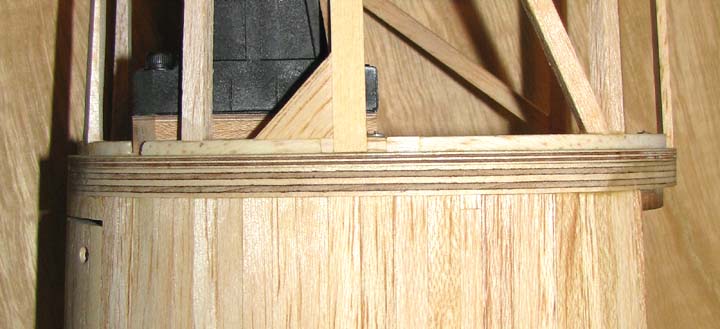
This approach worked out really great. In the
close up picture below, you can see how tightly the cowl frame's 1/8" rear
plywood bulkhead is pressed against the fuselage's 1/4" firewall. Once the
cowl frame planking is completed, the cowl will be rigid and always fit
snugly against the fuselage's firewall.
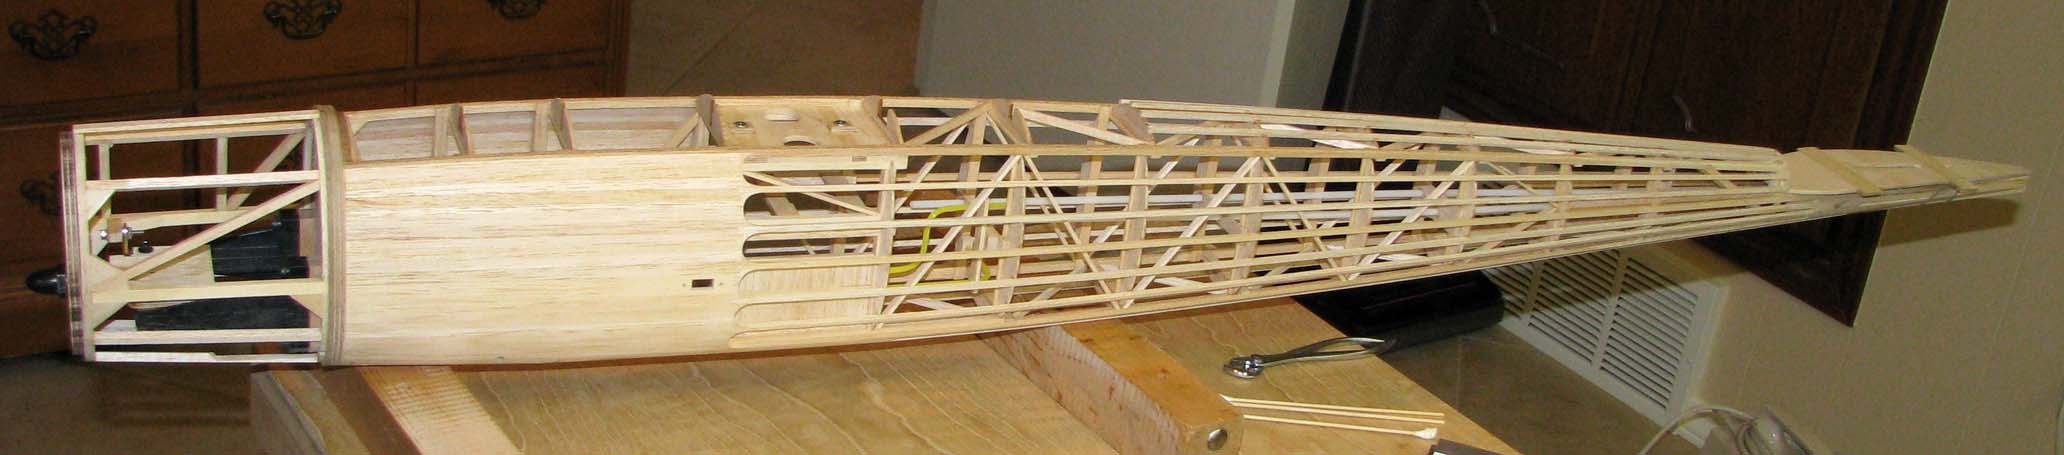
I want to show you how much additional length the
cowl adds to the fuselage in the picture below. One of the beauties of the
Comet Sailplane is its long slender elliptical fuselage. The shape reminds
me of a long sleek submarine.
This is a close up of the picture above to show
you a lot of the detail in the fuselage structure. What is so surprising is
the entire fuselage structure only weighs 13.2 ounces!
I will close this report now and start planking
the cowl frame...........................Tandy